Dial
Introduction
This page will show you how to create a dial. Its main use is to quantify the angle of a point on a circle which can be used to change anything from volume to the position of an object.
Creating a dial
To create a dial widget use the CTRL_DIAL function of gui:
dial = [gui.CTRL_DIAL, x, y, radius, val]
Input Parameters:
x [int] = x coordinate of the centre
y [int] = y coordinate of the centre
radius [int] = radius in pixels of the dial
val [list[int]] = the current value of the dial. 0 is at 12 O’Clock
To change the colours of the dial use:
[0xffffff0a, gui.DL_COLOR_RGB(0,255,0)], # green background
[gui.DL_COLOR_RGB(255,0,0)], # red dial colour
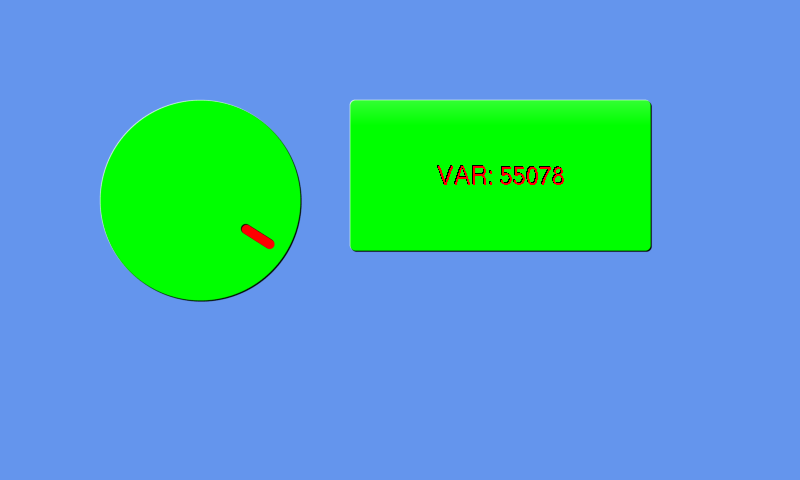
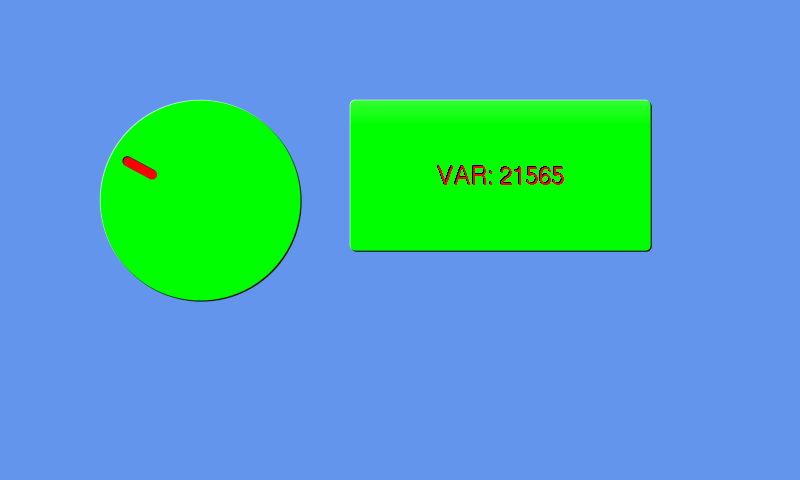
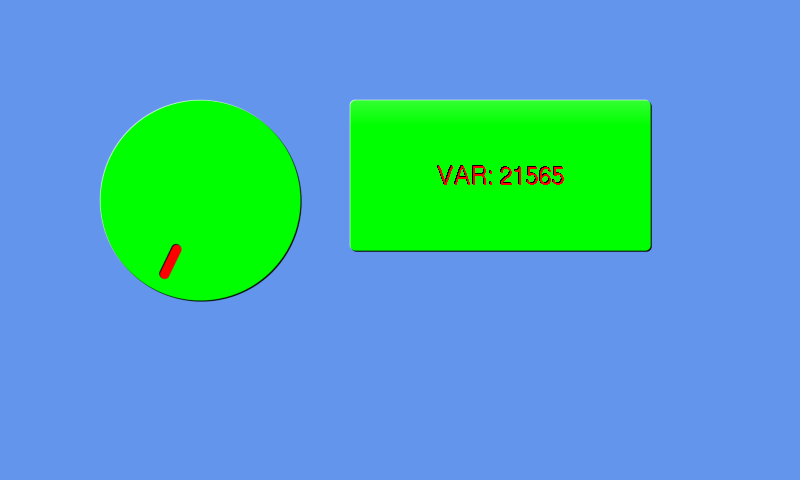
Example
The example below displays a dial and a button. The button displays the value of the dial but only changes when you press the button.
import gui

var = [10000000] # can have any int here however it will become in the range of 0-65536
dial = [gui.CTRL_DIAL, 200, 200, 100, var]

def button_press_cb(ctrl): # press the button to see the current value of var
    button[6] = "VAR: " + str(var[0])
    gui.redraw()

button = [gui.CTRL_BUTTON, 350, 100, 300, 150, 24, "Press = Value", button_press_cb]

gui.show([
    [0xffffff0a, gui.DL_COLOR_RGB(0,255,0)], # green background
    [gui.DL_COLOR_RGB(255,0,0)], # red dial colour
    dial, # when pressed the button will always be dark blue
    button,
])