Development Environments
Visual Studio Code
Before you can start setting up a Visual Studio Code environment you first need to download and install it. You can find the website to download it from here and you can find info about setting it up here.
Once you have this installed you are going to want to install the relevant extensions. First, you need to install python. Visual Studio Code describes how to install python in great detail here.
Python
Installing Python
Before you can start coding in python on VSCode you first need to install a python interpreter. There is a tutorial for this here. If you are on Windows simply download it from the Python.org website. If you are on macOS then look at the above-mentioned tutorial.
Getting the Python extension
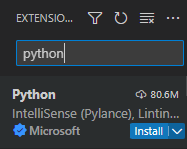
You also need to install the Python extension. This can be found in the extensions tab.
Search for Python and click Install.
PyMakr
Installing NodeJS
To install PyMakr correctly you first need to install Node.js.
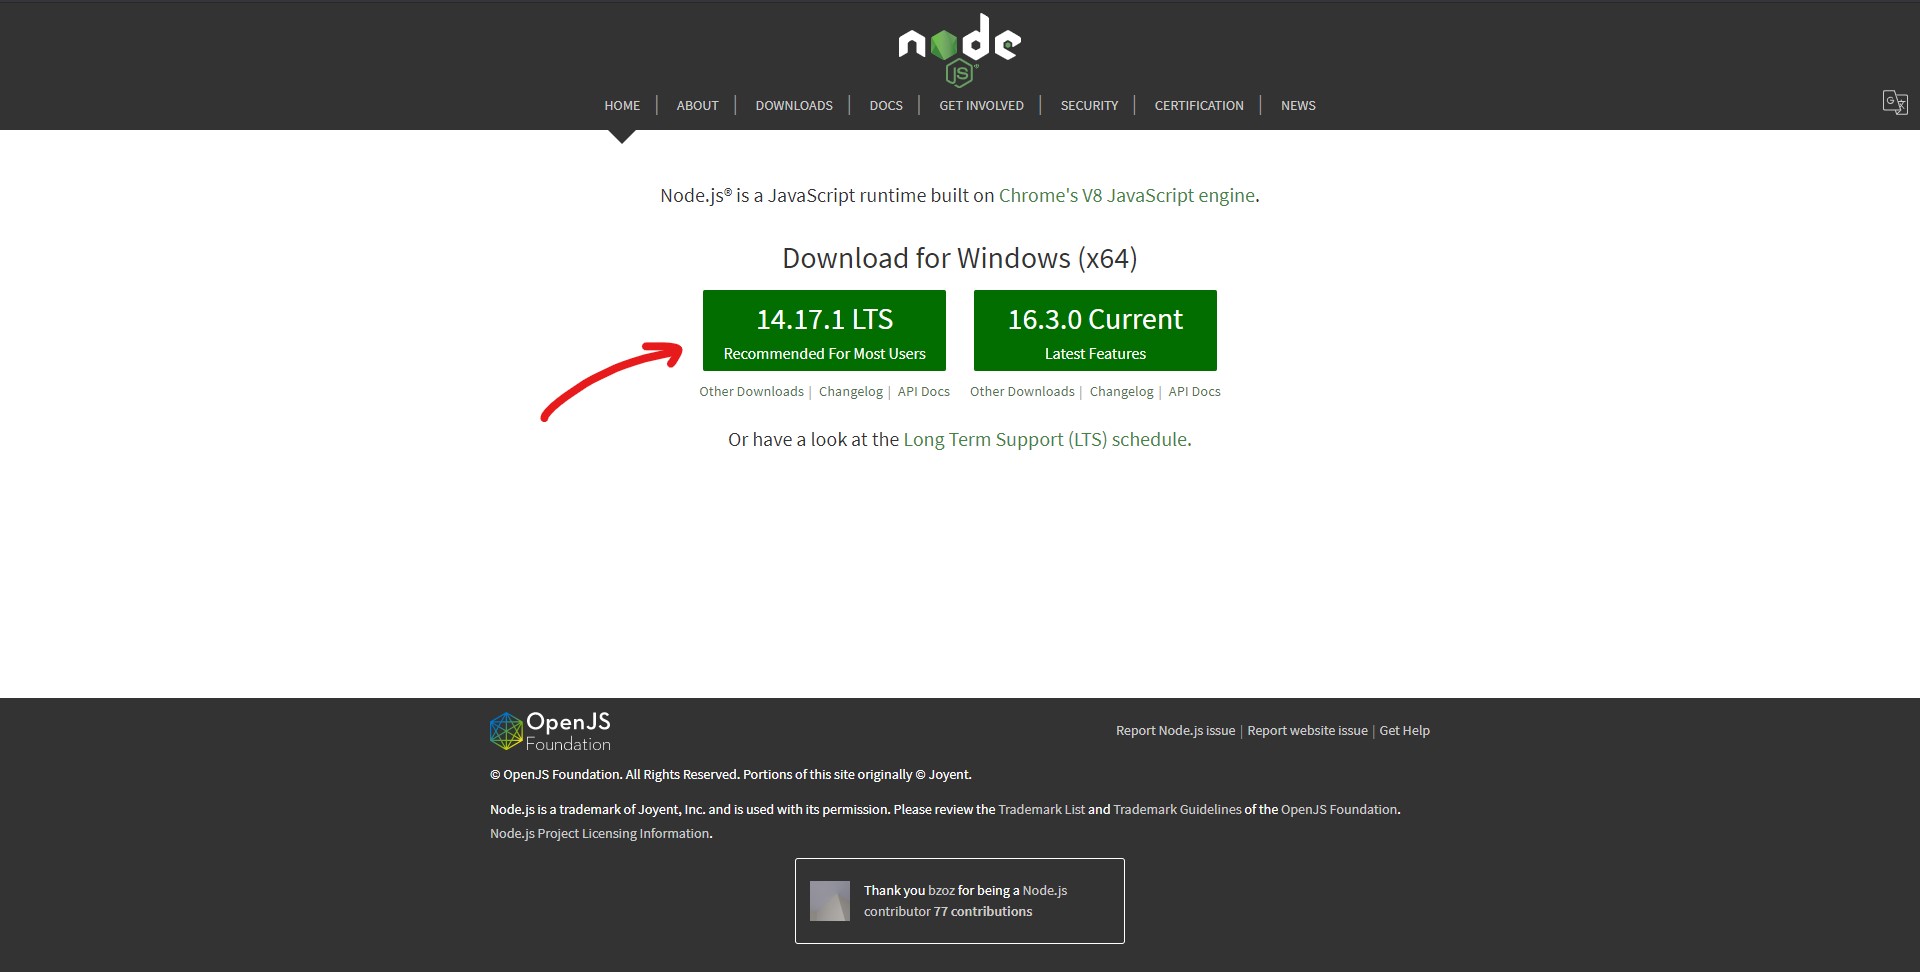
To do this first go to the NodeJS website
Click on the green button with LTS in the version name. Unless you need to install on a different OS in which case press “DOWNLOADS” on the ribbon bar and select the relevant download for your OS.
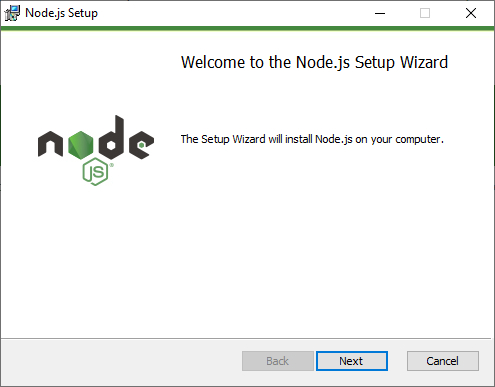
Once the download is done, run the installation and click the “Next” button.
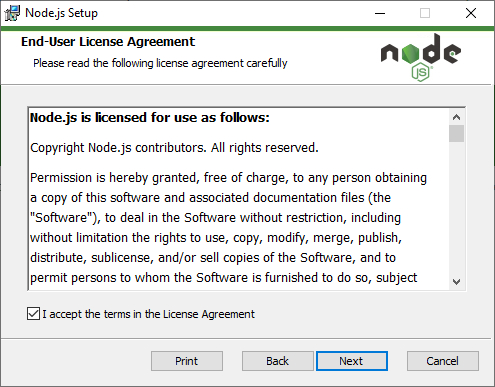
Accept the license agreement and click “Next”.
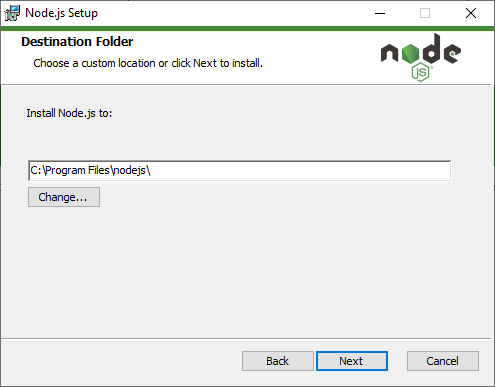
Here you can specify the installation path. We recommend leaving it as is.
Make sure all the packages are marked to be installed (looks something like the image below).

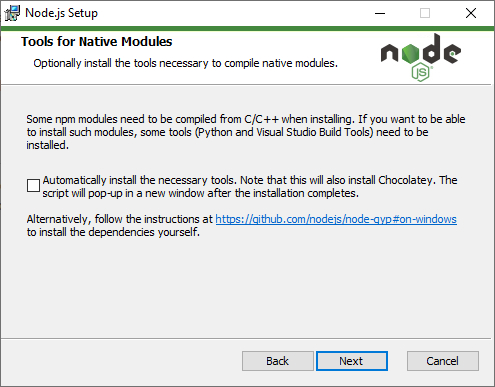
You can check the box to install additional software/scripts that are required by some packages but for our use case, it won’t be necessary.
Now you can start the installation. Once the installation is done you need to restart your PC.
Install and setup PyMakr
Now you need to install the PyMakr extension by going to the extensions tab on the left and searching for Pymakr. Install this simply by clicking on the extension and then pressing the install button.
You may need to then restart your Visual Studio Code.
This should create a new tab at the bottom of your Visual Studio Code that looks like the image below:
Click on this and your sidebar will change to look like this:
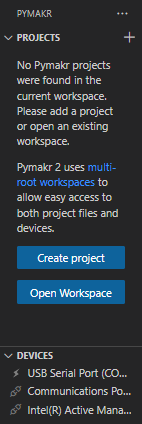
Collapse “PROJECTS”. Now connect the serial port of your VBOX Touch to your PC. More details about how to do this can be found here.
Once you know your port’s COM Channel you should be able to find it in your list of devices with the same COM channel. You can either connect to the device and then press the “Create terminal” button that looks like a square around >.

Or you can open a terminal with either Terminal, New Terminal or pressing CTRL+Shift+’. Which will look something like this:

Then in the top right of the terminal, there is a plus with a drop-down menu next to it. Press this drop-down menu and select PyMakr.
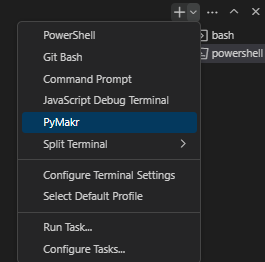
This should display the following:
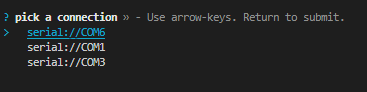
Then navigate to the relevant device and hit Enter. Then connect to the device using the “Connect Device” button that is shown below.

This should connect you to your VBOX Touch and should now appear as the “Disconnect Device” button shown below.

Your terminal for your VBOX Touch should have a normal terminal entry of >>>. Try typing print(“Hello World”) and see if it outputs “Hello World” back.
Using Visual Studio Code
Make sure to learn about some of the features that Visual Studio Code offers. We talk about one below with stubs. There are many more however, one of the most useful is the command palette which you can access with CTRL+SHIFT+p. You can read about this more here. We recommend learning some of the basic commands.
Development tips
Add all the files you need for your code except your main.py file to the SD Card. Instead, create a blank main.py. Then insert your SD Card in your VBOX Touch and power it on.
Connect to your device and cycle the power connection (this is due to a glitch that occurs when trying to copy your file across). You then need to be on the file you wish to send to the VBOX Touch (likely your main.py file) and use the built-in command “PyMakr: Run file or selection on device” (CTRL+Shift+R) and select your USB port and then press OK.
Stubs
Stubs are an incredibly useful feature of VSCode that allows for better code-completion aid and also validates that functions exist in modules you are importing.
Click here to download our list of stubs.
You then need to unzip this file and then move it to a relevant file path i.e. /VBOX_Touch/Development/Stubs.
Once you have done this go on to VS Code and go to File, Preferences, Settings (or press CTRL+,). From here search for “extra paths”. You will then have a window that looks like the one below:
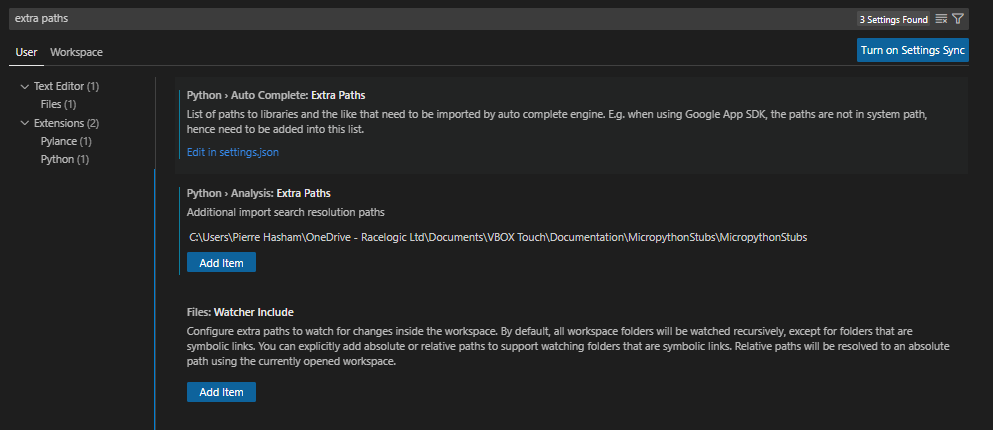
Now you can either go into the .json file by pressing “Edit in settings.json”, or use the simpler method of copying and pasting the file path into the text box that is created when you press the Add Item button in the Extra Paths section.
Warning:
Ignore the “Watcher Include” section. Do not add your file path to this.
We recommend updating your stubs whenever there is a new firmware release as there will likely be new functionality added and hence new functions detailed in the stubs that you may want to use.
PyCharm
You may prefer a different code development environment. In this case, our next recommendation is PyCharm. This is a free IDE specifically for python that you can download here.
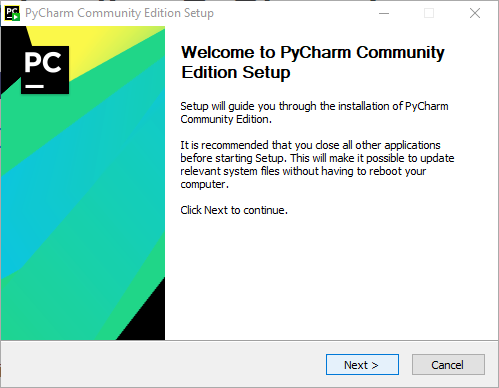
Now open the .exe file and follow the steps below.
Press “Next”
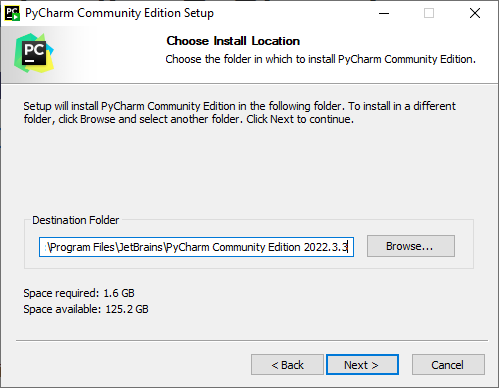
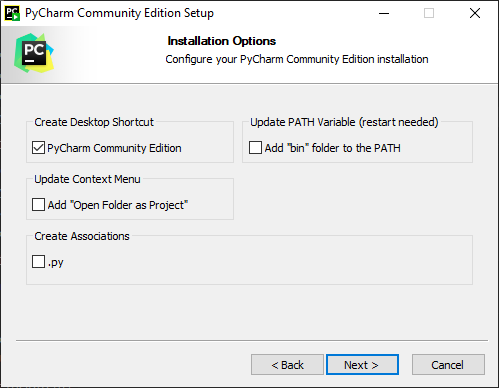
Check you are happy with the file path and then press “Next”.
We recommend creating the desktop shortcut. However, they are all optional. See the installation guide for more details.
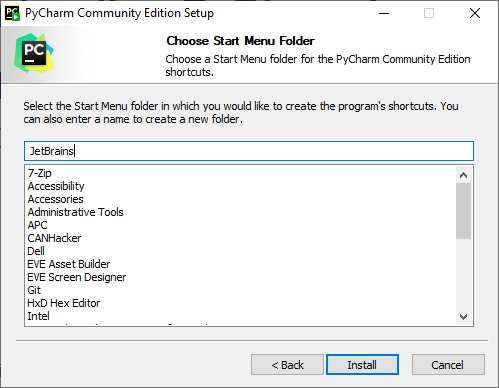
Check you are happy with the name of the folder it is going to be placed in and then press “Install”.
The website also has ways to learn about the IDE and it is recommended, particularly if it is your first time using it, that you look through this. It can be found here.
Version Control
One of the most useful parts of PyCharm is its good version control development system that is built-in. This allows easier development using systems such as git. For more information about this see their website or click here.
Stubs
Like VSCode, PyCharm has stubs that are used with their “IntelliJ” system to allow the autocompletion of different things. These stubs can of course be changed in the following way:
Firstly you need to download our list of stubs.
Once downloaded you then need to unzip this file and then move it to a relevant file path i.e. /VBOX_Touch/Development/Stubs.
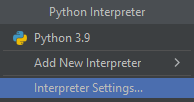
Next, you need to add this to the stub file to the global stub collection to allow for easier development. In the bottom right of your screen click the project interpreter (It likely says Python 3.9).

Click “Interpreter Settings…”.
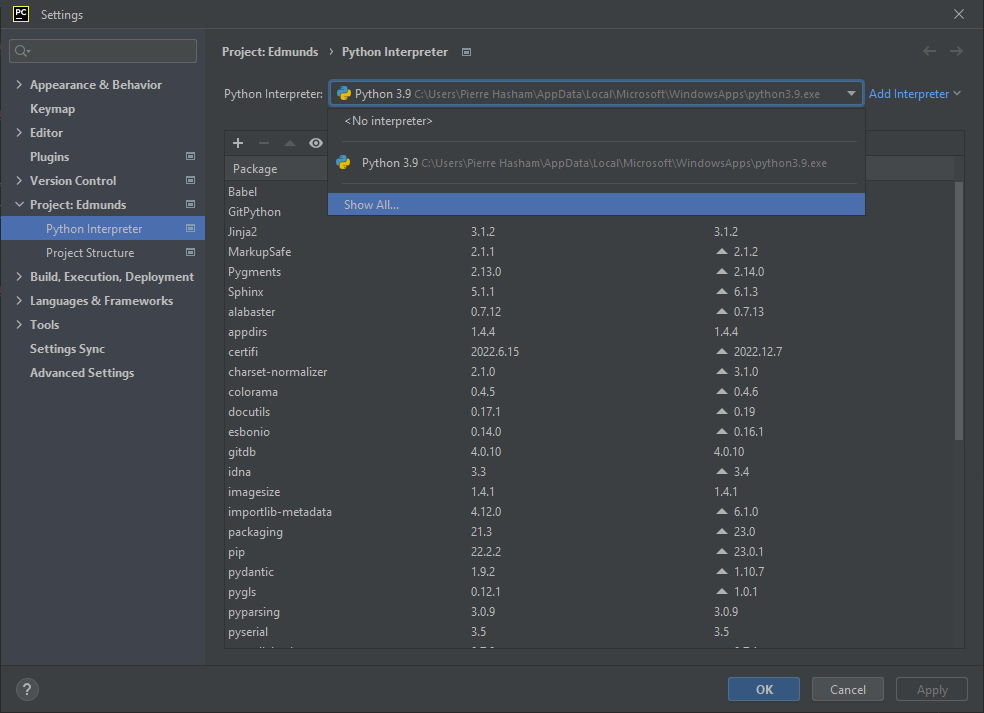
From here select the drop-down menu next to “Python interpreter:” and click “Show All”.
Note:
You may instead need to select the settings button to the side of the drop-down menu if you are running an older version of pycharm.
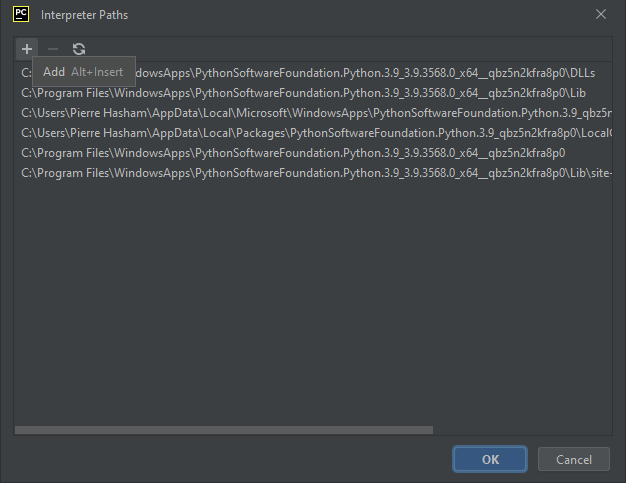
This should open a new window. In this window look for the folder with a subfolder symbol called “Show Interpreter Paths” and click this.

This should open another window named interpreter paths. From here click the add button and add the file path of the stubs you just downloaded and then press “OK”.
After doing this press “OK”, “Apply” and then “OK” again until you return to your original PyCharm window.